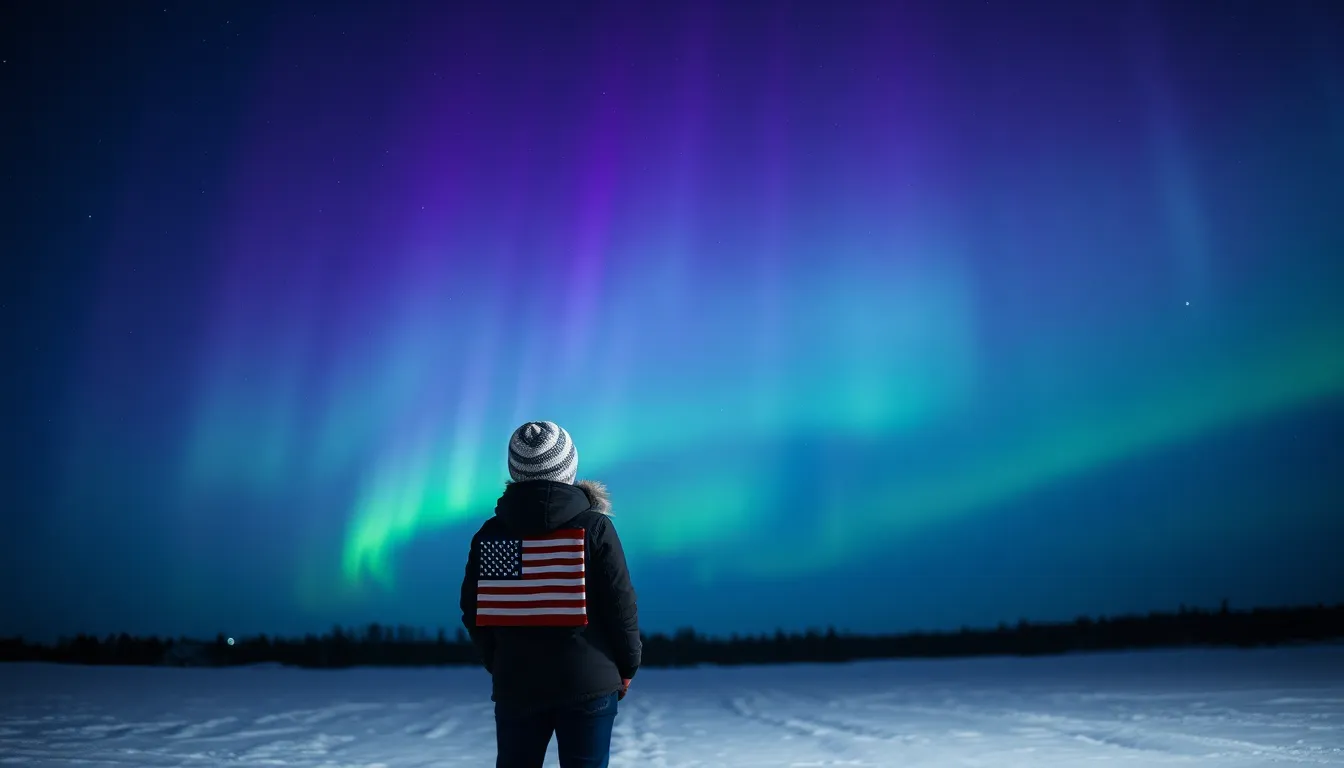
Capturing the breathtaking beauty of the northern lights on an iPhone might sound like a tall order, but it’s easier than it seems. Imagine standing under a shimmering sky filled with vibrant greens and purples, and all you need is your trusty smartphone to immortalize the moment. No fancy cameras or expensive gear required—just a little know-how and a sprinkle of patience.
Understanding Northern Lights Photography
Capturing the northern lights requires appropriate timing and location. Experience shows that planning significantly enhances the chances of obtaining stunning photos with an iPhone.
The Best Time and Location
Winter months offer the most favorable conditions for viewing the northern lights. December through March presents longer nights and clearer skies. Locations within the Arctic Circle, such as Norway, Sweden, Canada, and Alaska, rank as premier spots for witnessing this phenomenon. Dark areas away from city lights yield the best results. Check local aurora forecasts to identify peak activity times. The phenomenon typically occurs between 10 p.m. and 2 a.m., making late-night outings essential for successful photography.
Weather Conditions for Optimal Viewing
Clear skies enhance visibility, so aim for nights with minimal cloud cover. Local weather reports provide essential information about cloud conditions. Calm winds contribute to a more stable atmosphere, improving the viewing experience. Avoid nights with a full moon, as its brightness can hinder the faint colors of the aurora, making it less vibrant in photos. Prioritize dry weather to avoid precipitation that could obscure the lights. Selecting an optimal night elevates the chances of capturing impressive images.
Preparing Your iPhone for Northern Lights Photos
Preparing the iPhone for capturing northern lights involves adjusting its settings for optimal results. Adjusting camera settings can significantly improve photo quality, while using specific apps can enhance the overall experience.
Camera Settings to Adjust
Increasing exposure time enhances light capture, allowing the camera to register the faint glow of the northern lights. Set exposure to at least 3-10 seconds for better illumination. Lowering the ISO to around 800 minimizes noise and keeps images sharp. Additionally, switching to Night Mode, available on newer iPhones, automatically optimizes settings for low-light conditions. Finally, utilizing a tripod stabilizes the phone and prevents blurriness during longer exposures.
Recommended Apps for Enhanced Photography
Downloading specialized apps can elevate photography skills. Apps like NightCap Camera offer manual controls for exposure and ISO adjustments. Aurora Forecast provides notifications about aurora activity, ensuring photographers know the best times to shoot. Using Polarr allows for advanced editing features to enhance images post-capture. Snapseed, another powerful editing tool, offers precise adjustments for brightness and contrast. Leveraging these apps ensures iPhone users maximize their northern lights photography capabilities.
Techniques for Capturing the Northern Lights
Capturing the northern lights requires specific techniques to enhance image quality. Using the right tools and settings makes a significant difference.
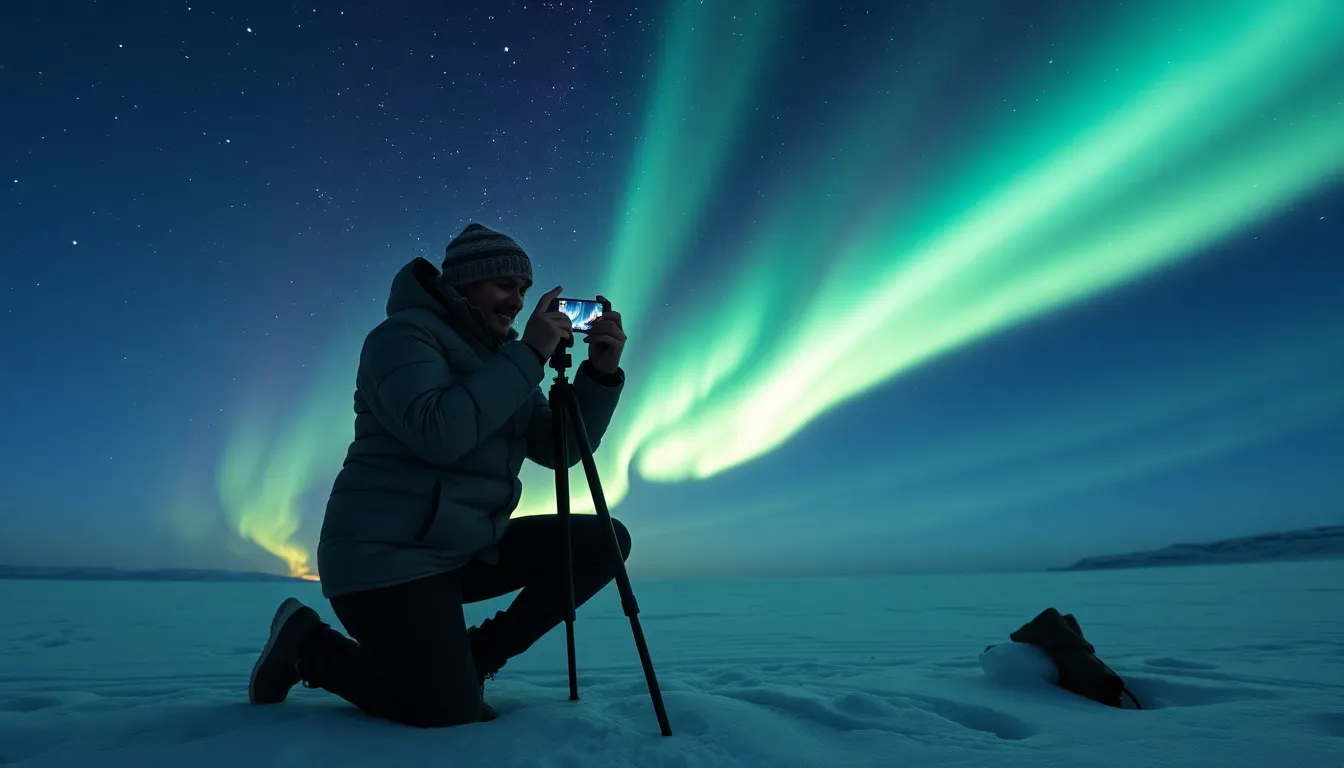
Using a Tripod for Stability
A tripod stabilizes the iPhone, reducing the risk of blurry images during longer exposure times. Consider a lightweight tripod for portability, allowing for easy setup in remote locations. Some tripods have flexible legs, which can adapt to uneven terrain. Ensure that the tripod is securely positioned to prevent any movement from wind or accidental bumps. Using a tripod enables clear capture of the vibrant colors and details of the aurora, which smartphones might struggle to retain without stability.
Long Exposure Settings
Long exposure settings greatly enhance northern lights photography. Increasing the exposure time to 3-10 seconds allows for more light to hit the sensor, showcasing the lights’ beauty. An ISO of around 800 helps maintain image quality while minimizing noise. Newer iPhones offer Night Mode, automatically optimizing settings for low-light conditions. Adjusting these settings effectively highlights the northern lights’ natural brilliance. Experimenting with different exposure times can result in unique images, each revealing different patterns and intensities of the aurora.
Tips for Post-Processing Your Photos
Post-processing enhances the beauty of northern lights photos taken on iPhones. These techniques improve overall image quality and clarify detail.
Editing Apps to Consider
Numerous editing apps simplify the polishing process for northern lights images. Snapseed provides an intuitive interface and powerful features like selective adjustments and healing tools. Lightroom offers extensive editing capabilities, from exposure corrections to color grading. Polarr stands out for filters specifically designed for night photography, helping to enhance the aurora’s vibrancy. Focused on simplicity, VSCO includes preset filters that elevate the visual aesthetic effortlessly.
Enhancing Color and Clarity
Adjusting color balance improves the final look of the photographs. Users can increase saturation to make the auroras pop against the night sky. Brightness adjustments bring out nuances in the colors without overexposing the highlights. Applying contrast enhances overall depth, making the foreground stand out against the ethereal background. Noise reduction features in these apps significantly improve image clarity, particularly in lower-light conditions. These adjustments bring the captivating beauty of the northern lights to life.
Capturing the northern lights with an iPhone is an achievable goal for anyone willing to put in a little effort and creativity. With the right settings and tools like a tripod and specialized apps, stunning images are within reach.
Timing and location play crucial roles in this endeavor, so choosing the right season and scouting dark spots away from city lights can make all the difference.
Once the photos are taken, post-processing can elevate the images even further, enhancing their vibrancy and clarity. With patience and practice, the beauty of the auroras can be immortalized in breathtaking photos that tell the story of a magical experience.