In a world where technology evolves faster than a cat meme goes viral, managing your iPhone 14’s eSIM can feel like a daunting task. Maybe you’ve switched carriers or just want to declutter your digital life. Whatever the reason, deleting an eSIM shouldn’t require a PhD in tech wizardry.
Understanding eSIM Technology
eSIM technology transforms the way users connect to mobile networks. This embedded SIM option provides flexibility and convenience compared to traditional SIM cards.
What is eSIM?
eSIM stands for embedded SIM. Unlike physical SIM cards, an eSIM is built directly into the device. It allows users to activate a cellular plan without needing a physical card. This technology supports multiple profiles and can store data for various carriers. Users can switch between networks seamlessly by downloading new profiles. It’s designed to enhance connectivity while reducing environmental impact due to less plastic waste from physical cards.
Benefits of Using eSIM
Using eSIM offers numerous advantages. Flexibility ranks high among its benefits. Users can easily switch carriers without visiting a store or waiting for a new SIM card. Convenience follows, as activating a new plan takes just a few moments. Remote provisioning simplifies the process, allowing for real-time updates and changes. eSIMs also provide better security, as they are less prone to physical theft or loss. Additionally, devices with eSIM technology often come with dual SIM capabilities, enabling both personal and business numbers on one device.
Preparing to Delete eSIM on iPhone 14
Preparing to delete an eSIM on an iPhone 14 requires careful steps to avoid unintended issues. Users should ensure that all critical data is protected and retrievable.
Backing Up Your Device
Backing up the device helps safeguard personal data before making any changes. Users can apply iCloud or iTunes methods to create backups. iCloud backups require users to connect to Wi-Fi, then access Settings, select the user’s name, and tap on iCloud. Users need to enable iCloud Backup and tap “Back Up Now.” Alternatively, iTunes offers an option for backing up via a computer. Connecting the iPhone to the computer and selecting “Back Up Now” in iTunes achieves this. Regular backups provide peace of mind, especially when altering SIM settings.
Ensuring You Can Re-activate Your Plan
Ensuring re-activation of the cellular plan is crucial. Users should verify that they have access to their carrier’s account details. This includes keeping the PIN or password readily accessible. Contacting the carrier for reactivation instructions can simplify the process. Some carriers may require specific steps to restore service after deleting an eSIM. User accounts typically store important information needed for re-activation. Being prepared with this information reduces potential downtime and keeps service disruptions minimal.
Steps to Delete eSIM on iPhone 14
Deleting an eSIM on the iPhone 14 requires a few straightforward steps. Follow the instructions below to remove the eSIM profile quickly and efficiently.
Accessing Settings
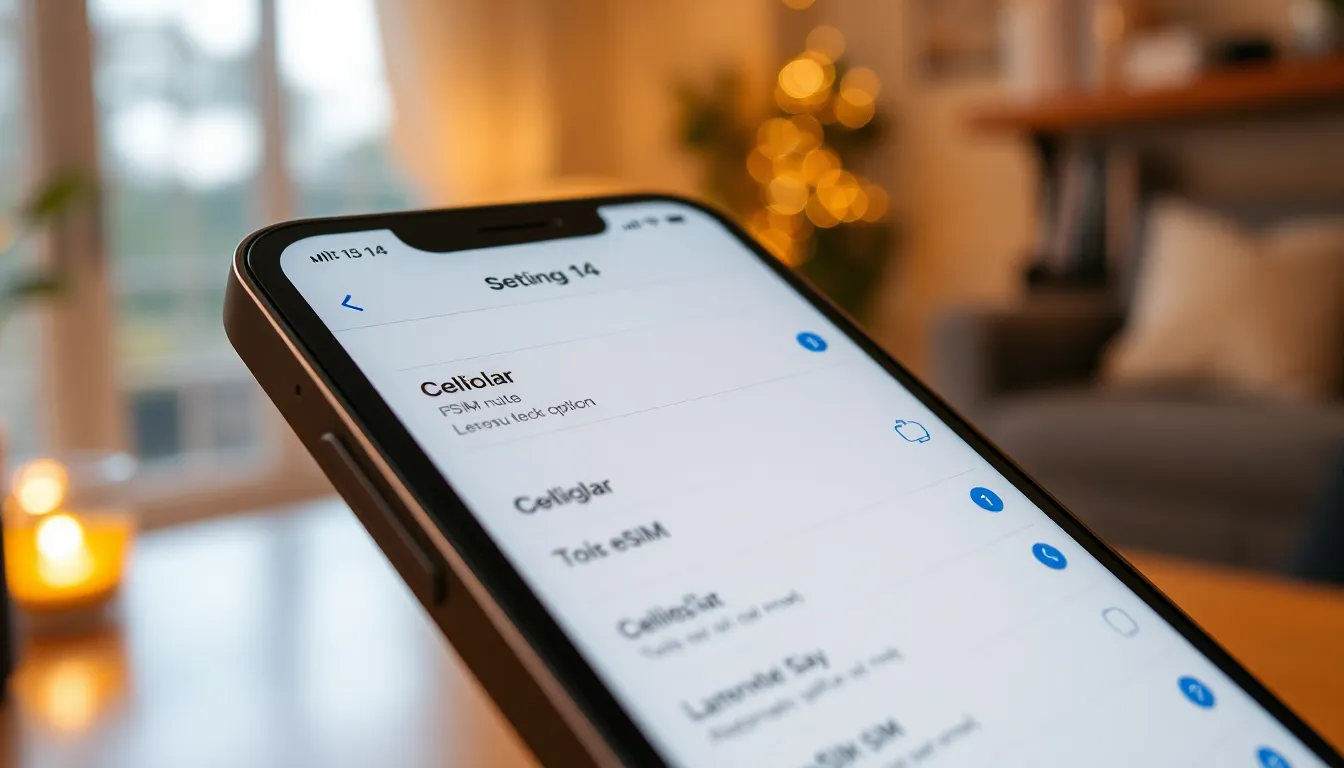
Start by opening the Settings app on the iPhone 14. This can be done by locating the gear icon on the home screen. Next, scroll down to find and tap on “Cellular.” This section provides options for managing cellular plans and their settings. Tapping “Cellular” leads to the cellular settings page, where users can view all active plans, including the eSIM.
Selecting Cellular Plans
Within the Cellular section, multiple cellular plans may appear. Users identify the specific eSIM they want to delete by scrolling through the list. Each plan displays details such as the carrier name and the profile label. Once identified, tapping on the plan opens a new page with more options related to that cellular plan.
Deleting the eSIM Profile
To remove the eSIM profile, users need to scroll to the bottom of the plan’s settings page. Here, the “Remove Cellular Plan” option appears. Tapping this option prompts a confirmation message. Confirming the deletion may require the user to enter their Apple ID password or carrier details. Following this, the eSIM will be successfully deleted, clearing space for new profiles or streamlining the device’s connectivity.
Troubleshooting Common Issues
Deleting an eSIM can lead to a few common issues users face on the iPhone 14. Understanding these challenges helps ensure a smoother experience.
Issues After Deleting eSIM
Some users encounter lost connectivity or issues with their cellular network after removing an eSIM. Restoring service often requires verifying account details with the carrier. Users might notice that previously saved contacts associated with the eSIM no longer appear. Checking for these details helps prevent confusion. Troubleshooting steps may include restarting the device or resetting network settings, which can resolve connectivity problems. Keeping the carrier’s customer support information handy can aid in quickly addressing any service interruptions.
Re-adding eSIM If Necessary
Re-adding an eSIM involves a few straightforward steps. Users must access the Settings app and navigate to the Cellular section again. Adding a new plan usually requires scanning a QR code or manually entering the details provided by the carrier. After selecting “Add Cellular Plan,” users confirm the setup by following on-screen prompts. If the activation fails, checking network signals is essential. Ensuring that the carrier’s system is functioning properly can also expedite the reactivation process.
Managing an eSIM on the iPhone 14 can enhance user experience by offering flexibility and convenience. Deleting an eSIM when switching carriers or simplifying connectivity is a straightforward process. By following the outlined steps and ensuring proper preparations like backing up data and verifying account details, users can navigate this task with confidence.
Should any issues arise post-deletion, users can easily troubleshoot by checking with their carrier or resetting network settings. The ability to re-add an eSIM also ensures seamless transitions between plans. Embracing eSIM technology allows users to optimize their mobile experience while enjoying the benefits of modern connectivity.